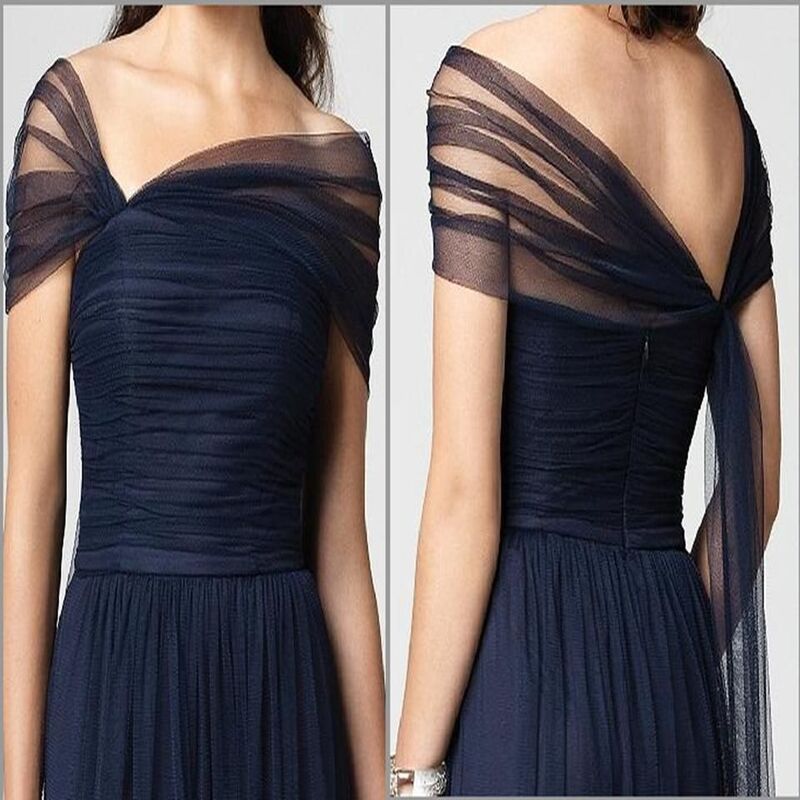
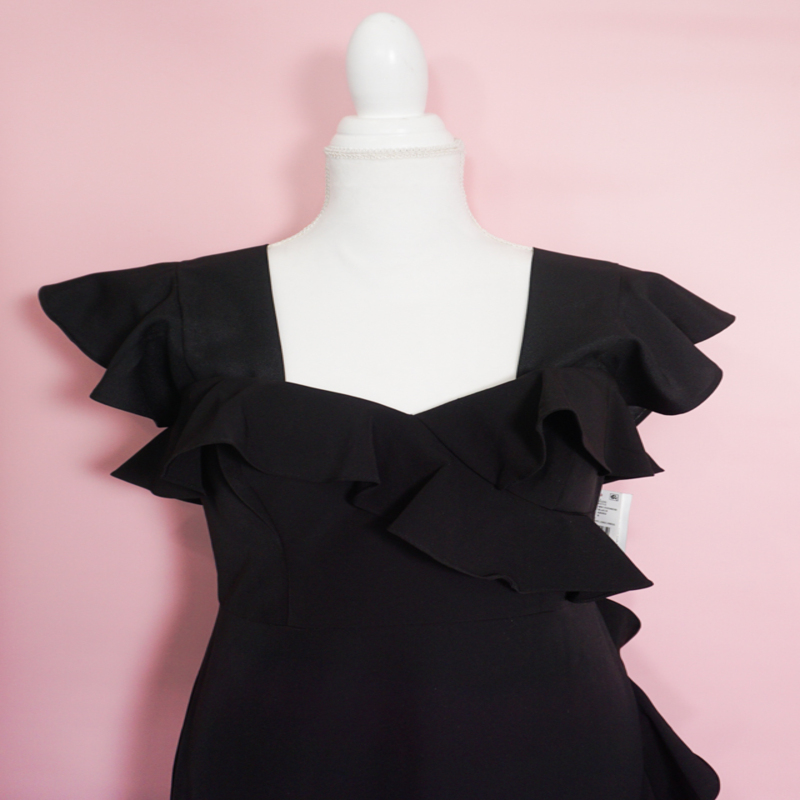
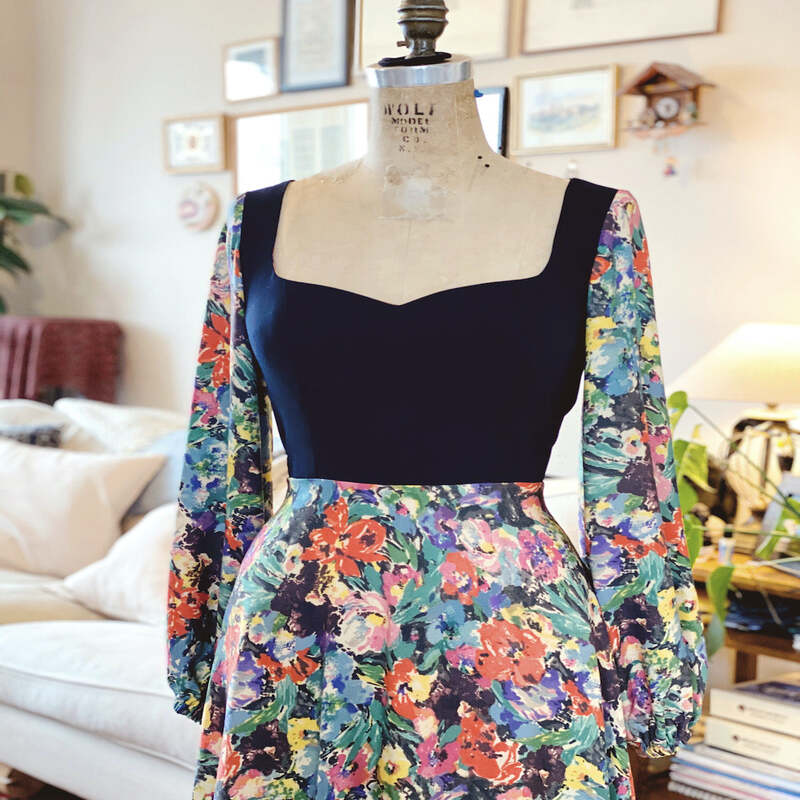
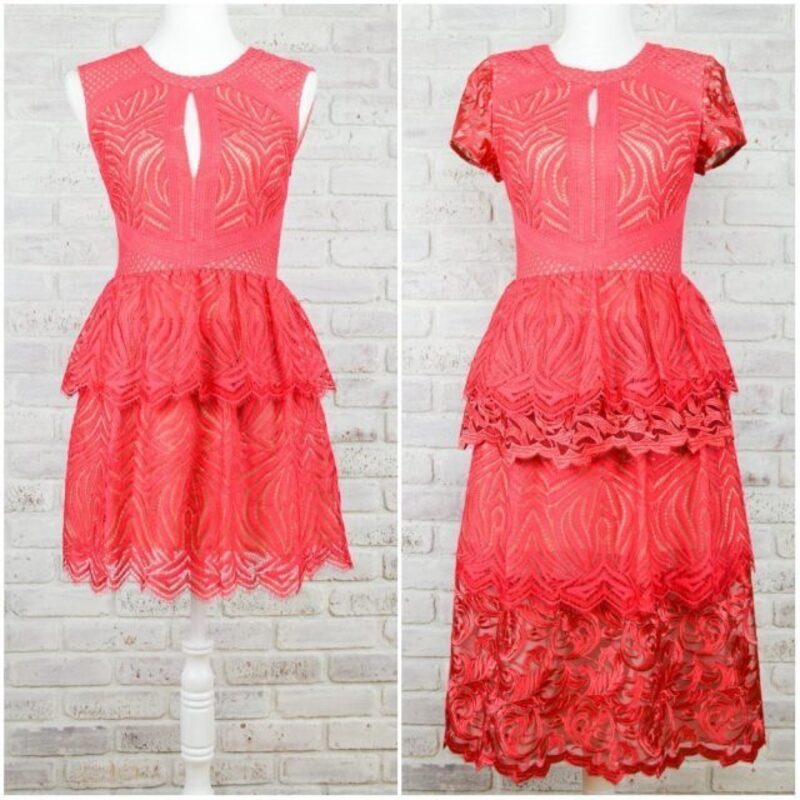
Do you have a lovely sleeveless dress that you’d love to wear in cooler weather? Or perhaps you’d like to add a touch of personality or coverage to your existing dress? Add sleeves to sleeveless dress is a fun and creative way to transform your outfit! This guide will walk you through several methods for adding sleeves to a sleeveless dress, suitable for different sewing skill levels.
Before you begin, gather your materials. You’ll need your dress, sewing scissors, thread, pins, and a sewing needle (or sewing machine if you prefer). You’ll also need fabric for the sleeves. The type and amount of fabric will depend on your chosen sleeve design.
Here, we’ll explore various sleeve options of how to add sleeves to a dress:

Simple Sleeves for Beginners
These sleeve options are perfect for those who are new to sewing or want a quick and easy transformation.
Cuffed Sleeves:
Cut two rectangular pieces of fabric. The length will determine the sleeve length, and the width should be slightly wider than your desired bicep circumference. Fold the top and bottom edges of the rectangles down to create a hem. Lay the sleeves flat on the dress, matching the raw edges to the armhole. Pin in place, then sew the sleeves onto the dress. Add cuffs by folding the raw edges of the sleeve ends inwards and sewing them down.
Circle Sleeves:
Cut two circles of fabric. The diameter of the circles will determine the width and puffiness of the sleeves. Fold the circles in half and cut a small opening along the folded edge to create the armhole. Lay the sleeves flat on the dress, matching the raw edges to the armhole. Pin in place, then sew the sleeves onto the dress.
Flirty and Fun Sleeves (More Skills Required)
These sleeve options add a bit more flair and require slightly more advanced sewing techniques.
-
Flutter Sleeves: Cut two long rectangles of fabric. The length will determine the sleeve length, and the width can be adjusted to your preference for flutteriness. Gather the top edge of the rectangles using a sewing machine with a gathering stitch. Lay the sleeves flat on the dress, matching the gathered edge to the armhole. Pin in place, then sew the dress.
-
Bell Sleeves: These sleeves resemble bell shapes. You can find free online templates or draw your own bell sleeve shape on fabric. Cut out two identical sleeve pieces. Sew the side seams of the sleeves, then lay them flat on the dress, matching the raw edges to the armhole. Pin in place, then sew the sleeves onto the dress.

Repurposing Old Clothes for Sleeves (Advanced Upcycling)
For an eco-friendly twist, consider repurposing old clothes into sleeves for your dress!
-
T-Shirt Sleeves: Cut the sleeves off an old t-shirt. Ensure the sleeve size is compatible with your armhole size. Adjust the sleeve length if needed. Lay the sleeves flat on the dress, matching the raw edges to the armhole. Pin in place, then sew the sleeves onto the dress.
-
Long-sleeved Shirt Deconstruction: Find a long-sleeved shirt that complements your dress fabric. Carefully cut off the sleeves along the seam. Lay the sleeves flat on the dress, matching the raw edges to the armhole. Pin in place, then sew the sleeves onto the dress. You can also try using the collar or bodice of the shirt to create a unique sleeve design.
Tips and Tricks for Sleeve Success
-
Matching Fabric Weight: Choose a fabric weight similar to your dress fabric for a cohesive look. Lighter fabrics work well for fluttery sleeves, while heavier fabrics can be used for structured bell sleeves.
-
Ironing Seams: Ironing your seams flat after sewing creates a neat and polished finish.
-
Trying It On: As you sew, try the dress on periodically to check the fit and sleeve length. Make adjustments as needed before finishing the seams.
With a little creativity and these helpful tips, you can add easy sleeves for sleeveless dress! So grab your sewing supplies and get ready to transform your wardrobe.

Adding Sleeves: The Finishing Touches
Once you’ve attached your sleeves to the dress, here are some steps to create a polished finish:
-
Trimming Excess Fabric: Carefully trim away any excess fabric from the seam allowances.
-
Serging or Pinking Raw Edges (Optional): To prevent fraying, you can serge the raw edges of the seams or use a pinking shears technique.
-
Adding Cuffs or Hems (Optional): Depending on your sleeve design, you might want to add cuffs or hems to the sleeves for a finished look. You can use bias tape or matching fabric to create clean hems.
Choosing the Right Sleeves for Your Dress
The ideal sleeve design for your dress depends on several factors:
-
Desired Style: Consider the overall style you want to achieve. Flowy flutter sleeves can add a romantic touch, while structured bell sleeves create a more dramatic look.
-
Fabric Type: Choose a sleeve fabric that complements the weight and drape of your dress fabric. Lighter fabrics like chiffon work well for flowy sleeves, while heavier fabrics like linen or denim might be better suited for structured sleeves.
-
Skill Level: Be honest about your sewing skills. If you’re a beginner, start with simpler sleeve designs like cuffed sleeves or circle sleeves.
Inspiration and Beyond
The world of sewing sleeves is vast and exciting! Here are some resources to spark your creativity:
-
Online Sewing Tutorials: Many websites and YouTube channels offer free video tutorials for sewing different sleeve styles. These tutorials can provide visual guidance and inspiration.
-
Fashion Magazines and Websites: Browse fashion magazines or websites to see how designers incorporate sleeves into different dress styles. This can help you develop ideas for your own sleeve design.
-
Upcycling Inspiration: Look for creative ways to upcycle old clothes into sleeves for your dress. This is a sustainable approach that adds a unique touch to your outfit.
With a little planning and these helpful tips, you can transform your favorite sleeveless dress into a whole new outfit! So grab your sewing supplies, unleash your creativity, and get ready to add some sleeves to your wardrobe.

Attaching the Sleeves to the Dress
Properly attaching the sleeves to the dress requires attention to detail and careful alignment. Therefore, understanding this process is essential for a seamless finish.
Pinning the Sleeves
Turn the dress inside out and the sleeves right side out. Insert the sleeve into the armhole of the dress, aligning the underarm seam of the sleeve with the side seam of the dress. Pin the sleeve cap to the armhole edge, ensuring the fabric lies flat and evenly distributed. Use plenty of pins to keep the sleeve in place and prevent shifting while sewing. Proper pinning is crucial for ensuring the sleeves are evenly attached and free of puckers. Therefore, recognizing the importance of careful pinning is essential.
Sewing the Sleeves to the Dress
Using a sewing machine or needle and thread, sew the sleeves to the armholes with a straight stitch. Start at the underarm seam and work your way around the sleeve cap, removing pins as you go. Be sure to catch both the sleeve fabric and the dress fabric evenly to avoid gaps. After sewing, press the seams with an iron to smooth out any wrinkles and create a polished look. Proper sewing ensures the sleeves are securely attached and the dress looks professionally finished. Therefore, understanding this process is crucial for a successful outcome.
Finishing Touches
Adding the final touches can enhance the appearance and comfort of the new sleeves. Therefore, understanding these finishing techniques is essential for a polished look.
Hemming the Sleeves
To finish the sleeves, fold the raw edge of each sleeve hem up by 0.5 inches, press with an iron, and fold up another 0.5 inches. Pin the fold in place and sew along the edge to secure the hem. This creates a clean and finished look for the sleeves. Repeat this process for both sleeves to ensure consistency. Proper hemming enhances the overall appearance and comfort of the sleeves. Therefore, recognizing the importance of hemming is crucial for a refined final product.
Adding Decorative Elements (Optional)
If desired, you can add decorative elements to the sleeves, such as lace trim, buttons, or embroidery. These additions can enhance the aesthetic appeal and make the dress uniquely yours. Ensure any embellishments are securely attached and coordinate with the overall design of the dress. Customizing the sleeves with decorative elements allows for personal expression and creativity. Therefore, understanding how to add these elements enhances the uniqueness of the dress.

Conclusion
Understanding how to add sleeves to a dress involves several key steps, from selecting the right fabric to finishing touches. Proper knowledge of these aspects ensures a successful transformation.
Exploring elements like fabric selection, measuring for sleeves, creating a sleeve pattern, cutting and sewing, and attaching the sleeves provides valuable insights. Recognizing the importance of precise measurements, careful pinning, and proper hemming further enhances your understanding.
By engaging with these steps, you can effectively add sleeves to a dress, transforming it into a unique and versatile garment. Therefore, whether for style, comfort, or functionality, understanding these techniques offers practical and valuable insights. Embrace the opportunity to customize your wardrobe creatively, knowing you have the knowledge and resources to add stylish sleeves to your dress in 2024!
