Why Pleats? A Timeless Fashion Choice
Pleats have graced fashion runways and everyday wardrobes for decades. Here’s why they’re still a stylish choice:
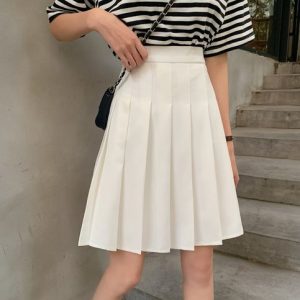
Elegant and Versatile
Pleated skirts can be dressed up or down, making them perfect for various occasions. Pair with a tee for a casual look or a blouse for a more formal affair.
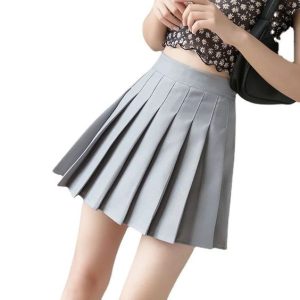
Flattering Silhouette
The vertical lines of pleats elongate the figure, creating a flattering silhouette for all body types.
Movement and Flow
Pleats add a graceful movement and flow to your outfit, making you feel confident and stylish.
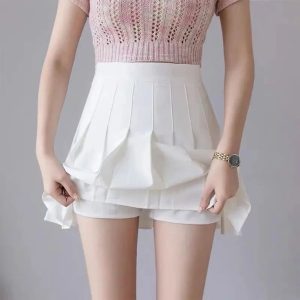
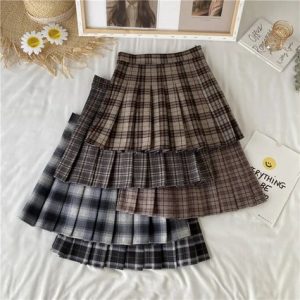
Endless Variations
From knife pleats to box pleats to accordion pleats, the possibilities are endless. You can customize the width, depth, and direction of your pleats to create a unique look.
Tools and Materials You’ll Need
Gather your supplies to embark on your pleated skirt adventure:
- Fabric: Choose a fabric that holds pleats well, such as cotton, linen, or wool blends. The amount of fabric you’ll need depends on your desired length and fullness.
- Scissors: Sharp fabric scissors are essential for clean cuts.
- Measuring Tape: Measure your waist and desired skirt length accurately.
- Ruler: A clear ruler helps you mark pleats evenly.
- Pins: Use plenty of pins to secure the pleats in place before sewing.
- Iron and Ironing Board: Pressing the pleats is crucial for a crisp, professional look.
- Sewing Machine (or Needle and Thread): A sewing machine makes the process faster, but you can also sew by hand if you prefer.
- Thread: Choose a thread that matches your fabric.
- Zipper or Elastic: You’ll need a zipper for a back or side closure, or elastic for a comfortable waistband.
Measuring and Cutting Your Fabric
The first step is to determine the dimensions of your skirt:
- Waist Measurement: Measure your natural waist (the narrowest part of your torso).
- Skirt Length: Decide on your desired skirt length, measuring from your waistline down.
- Fabric Calculation: For a full skirt, double your waist measurement and add a few inches for seam allowances. The length of your fabric should be your desired skirt length plus extra for the waistband and hem.
To achieve even pleats, divide the width of your fabric by the desired number of pleats. For example, if your fabric is 60 inches wide and you want 10 pleats, each pleat will be 6 inches wide.
Creating the Pleats
Now for the fun part – creating the pleats!
- Mark the Pleats: Use a ruler and fabric marker to mark the pleat folds on the wrong side of your fabric.
- Fold and Pin: Fold each pleat according to your markings, ensuring they all face the same direction. Secure with pins.
- Press: Use a hot iron to press the pleats flat, creating crisp folds.
- Baste: Sew a loose stitch along the top of the pleats to hold them in place temporarily.
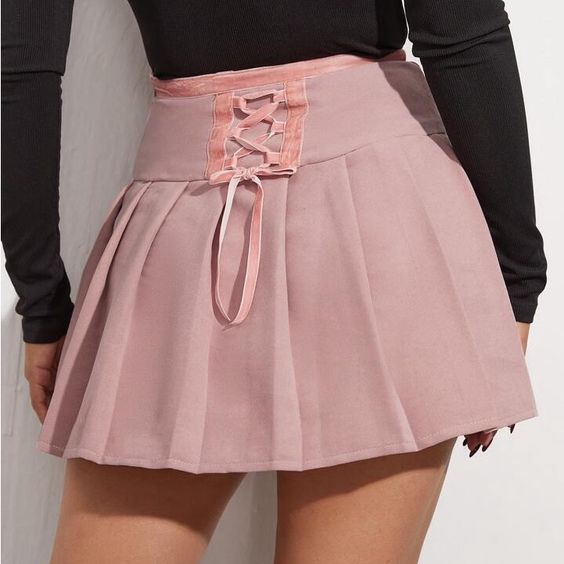
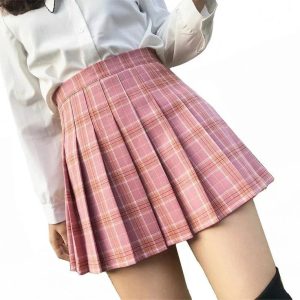
Types of Pleats
There are various types of pleats you can create:
- Knife Pleats: All pleats fold in the same direction, creating a sleek, streamlined look.
- Box Pleats: Pleats fold away from each other, creating a more structured silhouette.
- Accordion Pleats: Narrow, closely spaced pleats create a textured and dynamic look.
Let me know if you’d like any adjustments or further content.
Sewing Your Pleated Skirt
With your pleats perfectly pressed and basted, it’s time to assemble your skirt:
- Sew Side Seams: Place the right sides of the fabric together and sew the side seams, leaving an opening for the zipper (if using) or elastic casing.
- Insert Zipper or Elastic: If using a zipper, carefully insert it into the side seam opening. For an elastic waistband, create a casing and thread the elastic through.
- Finish Waistband: Sew the waistband to the top of the skirt, enclosing the raw edges for a clean finish.
- Hem: Fold the bottom edge of the skirt up twice, press, and sew to create a hem.
Tips for Sewing Pleats:
- Use a Zipper Foot: A zipper foot on your sewing machine helps you sew close to the pleat folds without catching them.
- Start at the Bottom: When sewing the side seams, start at the bottom of the skirt and work your way up to avoid distorting the pleats.
- Remove Basting Stitches: After sewing the side seams, carefully remove the basting stitches.
Styling Your Pleated Skirt
Now that your masterpiece is complete, it’s time to style it!
- Casual Chic: Pair your pleated skirt with a simple t-shirt or tank top and sneakers for a laid-back look.
- Workwear: Tuck in a blouse or button-down shirt and add a blazer for a polished office outfit.
- Date Night: Dress up your skirt with a silky camisole, heels, and statement jewelry for a romantic evening out.
- Weekend Adventure: Combine your pleated skirt with a chunky sweater and ankle boots for a cozy and stylish weekend ensemble.
Experiment with different belts, scarves, and jewelry to personalize your look and add a touch of flair.
Caring for Your Pleated Skirt
Proper care will help your pleated skirt maintain its crispness and longevity:
- Washing: Follow the care instructions on your fabric label. Some fabrics may require dry cleaning, while others can be hand-washed or machine-washed on a delicate cycle.
- Drying: Lay flat to dry or hang to dry to avoid distorting the pleats.
- Ironing: Touch up the pleats with a hot iron as needed. Use a pressing cloth to protect delicate fabrics.
Variations on a Classic:
Get creative with your pleated skirt design:
- Midi or Maxi Length: Experiment with different skirt lengths to find a silhouette that flatters your figure.
- Color and Pattern: Choose a bold print or vibrant color for a playful look, or opt for a neutral hue for a classic wardrobe staple.
- Texture: Try different fabric textures, such as corduroy, velvet, or silk, to add depth and interest.
Personalize your skirt with embellishments like lace trim, embroidery, or appliqué.
The Joy of DIY Fashion
Creating your own clothes allows you to express your creativity and personalize your wardrobe. Pleated skirts are a versatile and timeless addition to any closet, and with a little patience and practice, you can create a beautiful garment that you’ll wear with pride.