
Hemming a skirt might seem like a simple alteration, but it’s a crucial step in achieving a polished, tailored look. A well-executed hem not only adjusts the length but also enhances the overall drape and flow of your skirt. Moreover, it prevents fraying and ensures your garment lasts longer.
More Than a Snip and Stitch
However, hemming isn’t just about aesthetics; it’s a skill that empowers you to customize your clothing and express your personal style. Whether you’re shortening a too-long skirt, rescuing a thrifted find, or simply want to add a personal touch, mastering this technique opens up a world of wardrobe possibilities.
Tools of the Trade: Gathering Your Hemming Essentials
Before you begin, gather these essential tools:
- Measuring Tape or Ruler: For accurate measurements.
- Fabric Scissors: Sharp shears for clean cuts.
- Pins: To secure the hem in place while you sew.
- Seam Ripper: In case you need to undo any stitches.
- Iron and Ironing Board: To press the hem for a crisp finish.
- Thread: Choose a color that matches your skirt.
- Sewing Machine or Needle and Thread: Depending on your preference and skill level.
- Optional: Hemming tape or fabric glue for a no-sew option.
Measuring and Marking: The First Step to a Perfect Hem
Accurate measurements are the foundation of a well-executed hem. Here’s how to get it right:
Try on Your Skirt
Put on the skirt and decide on your desired length. Use a measuring tape or ruler to measure from the waistline to the desired hemline. Mark this length with pins or fabric chalk.
Even it Out
Ensure your hemline is even all around. You can use a yardstick to help you mark a straight line.
Add Seam Allowance
Add an extra inch or two to your measurement to account for the hem allowance. This is the amount of fabric you’ll fold up to create the hem.
Double-Checking Your Work
Double-check your measurements before cutting any fabric. It’s better to be safe than sorry!

Cutting and Preparing: Snip with Confidence
With your measurements in place, it’s time to start cutting.
- Remove Excess Fabric: Carefully cut along the marked line, leaving your seam allowance intact.
- Finish the Raw Edge: To prevent fraying, you’ll need to finish the raw edge of the fabric. You can use a serger, pinking shears, or simply fold the edge under and stitch it down.
The type of edge finish you choose will depend on the fabric and your desired look. A serged edge is clean and professional, while pinking shears create a zigzag pattern that prevents fraying.
Sewing the Hem: Techniques for a Flawless Finish
Now it’s time to sew your hem. Here are a few popular methods:
- Double-Fold Hem: This classic technique involves folding the fabric twice to create a clean, finished edge. It’s ideal for lightweight fabrics.
- Blind Hem Stitch: This nearly invisible stitch is perfect for a polished look. It’s slightly more challenging, but well worth the effort.
- Machine Stitch: If you’re comfortable with a sewing machine, this is the quickest and easiest way to hem a skirt.
The Finishing Touch: Pressing for Perfection
A crisp, clean hem is the hallmark of a well-made garment. After sewing your hem, take the time to press it thoroughly with an iron.
Use the appropriate heat setting for your fabric type. For delicate fabrics, use a pressing cloth to prevent scorching. Press the hem flat, ensuring the stitches are smooth and even. A well-pressed hem will elevate the look of your skirt and make it look professionally finished.
Troubleshooting Hemming Hiccups
Even experienced sewers encounter challenges when hemming a skirt. Here are a few common issues and how to troubleshoot them:
- Uneven Hem: If your hemline is uneven, try pinning the skirt to a dress form or a friend to ensure accurate measurements before cutting.
- Puckering: If your hemline is puckering, it could be due to too much fabric in the hem allowance or using the wrong stitch length. Try adjusting your seam allowance or stitch length to fix the issue.
- Visible Stitches: If your stitches are visible on the outside of the skirt, you may need to adjust your thread tension or use a blind hem stitch for a more discreet finish.
If you’re struggling with a particular issue, don’t hesitate to seek help from a friend, family member, or sewing instructor.
Hemming Alternatives: Beyond Needle and Thread
If you’re not a fan of sewing, there are alternative methods for hemming a skirt.
Hemming Tape
Hemming tape is a double-sided adhesive tape that bonds fabric together when heated with an iron. It’s a quick and easy solution for simple hems, but it may not be suitable for delicate fabrics or heavy-duty wear.
Fabric Glue
Fabric glue is another no-sew option for hemming. It’s best for lightweight fabrics and temporary hems. However, it may not hold up to repeated washing or wear and tear.
Embrace the Hem: A Symbol of Craftsmanship
Hemming a skirt is a skill that goes beyond mere alteration. It’s a testament to your creativity, resourcefulness, and appreciation for well-made garments. By learning this valuable skill, you empower yourself to personalize your clothing, extend the lifespan of your wardrobe, and express your unique style.
In a world of fast fashion, hemming your own clothes is a sustainable and eco-conscious choice. By repairing and altering existing garments, you reduce waste and contribute to a more mindful approach to fashion.
Mastering the art of hemming is just the beginning. It opens up a world of possibilities for sewing and crafting. From simple repairs to creating custom garments, sewing is a rewarding and empowering skill that allows you to express your creativity and individuality.
Hemming Different Fabrics: A Tailored Approach
Not all fabrics are created equal, and neither are their hemming techniques. Here’s how to adjust your approach based on the type of fabric you’re working with:
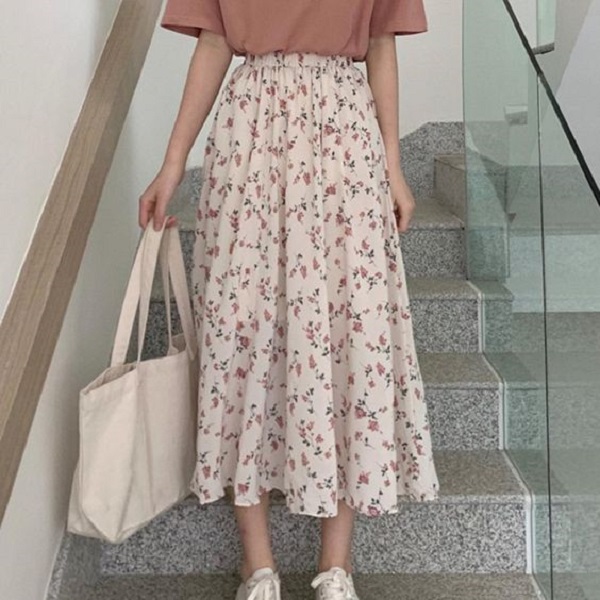
Delicate Fabrics (Silk, Chiffon, Lace)
For delicate fabrics, a rolled hem or a narrow hem is your best bet. These techniques create a dainty, almost invisible finish that won’t weigh down the fabric. A rolled hem involves rolling the fabric edge very narrowly and stitching it down, while a narrow hem involves a single, small fold secured with tiny stitches.
Stretchy Fabrics (Jersey, Knit)
Stretchy fabrics require a bit more finesse. Use a stretch stitch or a zigzag stitch on your sewing machine to accommodate the fabric’s give. Alternatively, you can hand-stitch the hem using a catch stitch, which allows for flexibility.
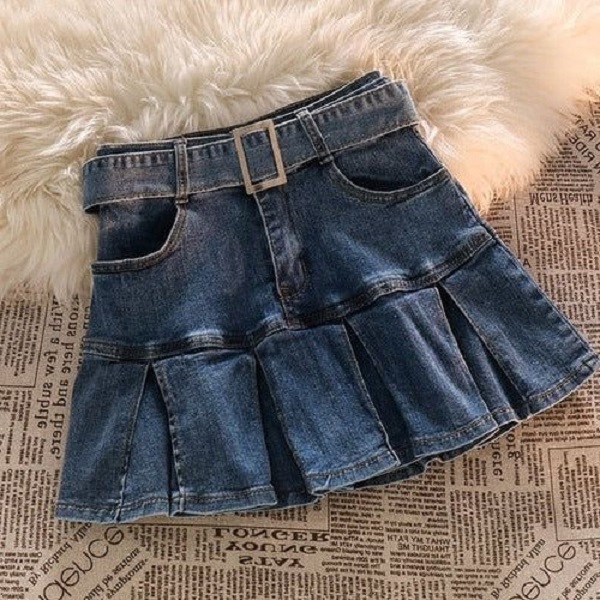
Heavy Fabrics (Denim, Wool, Tweed)
Heavy fabrics require a sturdier hem. A double-fold hem is a good option, but you may need to use a wider seam allowance. If you’re using a sewing machine, consider using a heavier needle and thread to ensure the stitches hold securely.
Hemming Hacks: Time-Saving Tips for Busy Bees
Short on time? Here are a few hacks to streamline the hemming process:
- Hemming Tape: This double-sided adhesive tape is a lifesaver for quick fixes. Simply iron it onto the hem allowance, and it bonds the fabric together.
- Fabric Glue: For a no-sew option, use fabric glue to secure the hem. Just be sure to choose a glue that’s specifically designed for fabric and follow the instructions carefully.
- Measuring Shortcut: If you don’t have a measuring tape handy, use a piece of string or ribbon to mark your desired length.
Hemming a beautiful skirt is a satisfying accomplishment that can boost your sewing confidence and inspire you to tackle more challenging projects. With practice and patience, you’ll develop your skills and discover the joy of creating and customizing your own wardrobe. So, grab your needle and thread (or your hemming tape!), and let your creativity flow!